How to make 3D Halloween 'BOO' Letters from Cardstock - tutorial with Free SVG file
- Bramble and Finch
- Oct 6, 2022
- 2 min read

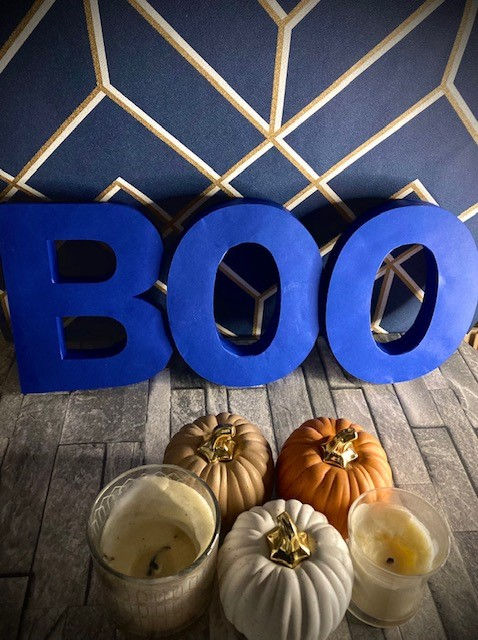
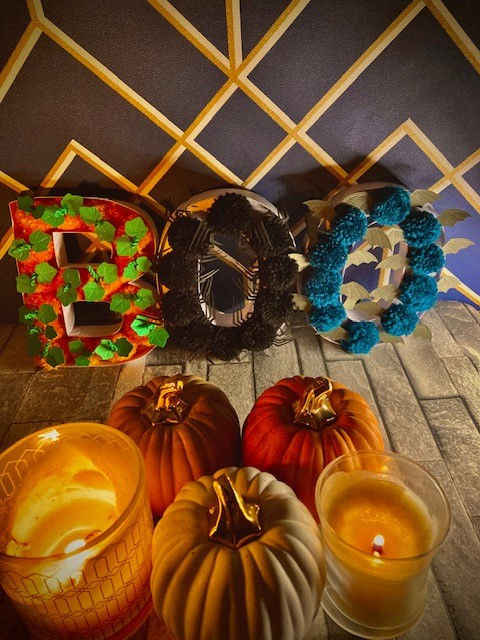
Now that October is here, I feel like it is time to really embrace Autumn, and of course, the big event of this season is Halloween! I have designed the 'BOO!' cute freestanding cardstock letters template. You can find both an SVG file for those with a Cricut machine, (or PNG file for those of you that wish to print and cut it out freehand) available for you to download for free, to create your own version! I'd love to see your own versions of this project, so if you'd like to share, you can post a photo over on the Bramble and Finch Facebook group page.

I have included some written instructions on how to prepare theSVG template for cutting in Cricut's Design Space software, and below you can also find a video tutorial showing how to assemble the pieces once they are cut, if you are unsure.
Cricut Design Space preparation Instructions:
2- Import into Design Space as a cut file. Add to canvas.
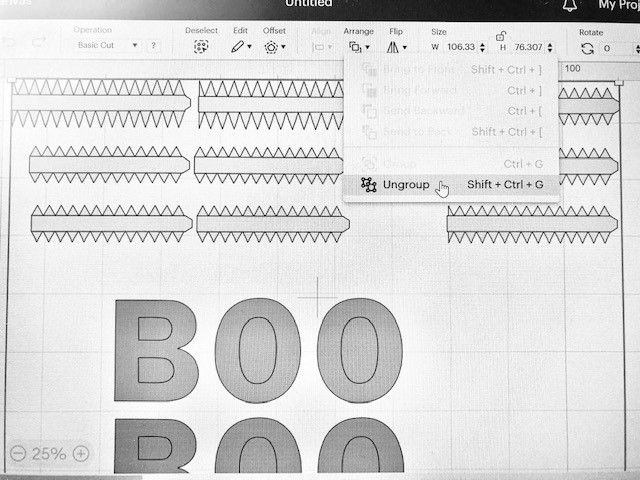
3- Ungroup the elements by clicking on the elements, clicking on arrange, and selecting ‘Ungroup’. You may need to do this once for the grouped elements as a whole, then again for the individual elements in each shape in order to change the type of action for individual lines.

4- Change lines to be creased (all horizontal lines above and below of the rectangular pieces) to ‘Score’ or ‘deboss’ (if you are using one of these Cricut tools) by selecting the line to change and then at the top under the header ‘Operation’, change from Basic Cut to Score/Deboss. If you are manually adding the creases, change these line types to ‘Guide’, and the Cricut will ignore them. If you are unsure which lines to change, see the photo below for reference – the crease lines are pink. There should be 20 score lines in total.

5- Highlight all of the elements in a letter or shape, right click and select ‘Attach’. This ensures that the centres are cut in reference to the outline, not as a separate shape. Repeat for the rest of the letters and sides.
6- Click ‘Make It’ to proceed to the mat preparation, spacing the elements according to your cardstock size.
If you would like to link directly to a prepared Cricut project file in Design Space, with ‘Guide’ selected instead of score or deboss, you can find it here: https://design.cricut.com/landing/project-detail/633e000d224542116818a97a
You can watch the video tutorial showing the full assembly of the letters here.

For reference, I have included a picture of all of the cuts in the file in the same order as the SVG and PNG files, with labels showing what each part is.
I hope you enjoy this project, I'd love to know what you think of it!


Cricut Design Space is a design app which is necessary app for all Cricut Machines. you can download the app from official Cricut’s Website just go to design.cricut.com/setup by searching in browser. With help of this software Cricut’s User can Create multiple type of Designs for their Projects. The App is Available for both Windows and Mac Devices, Design Space App is also Available for Android & iOS Smartphones. Keep Reading Steps for design space this step Guide Article on Design Space App.